

5 Aerial Photography Tips
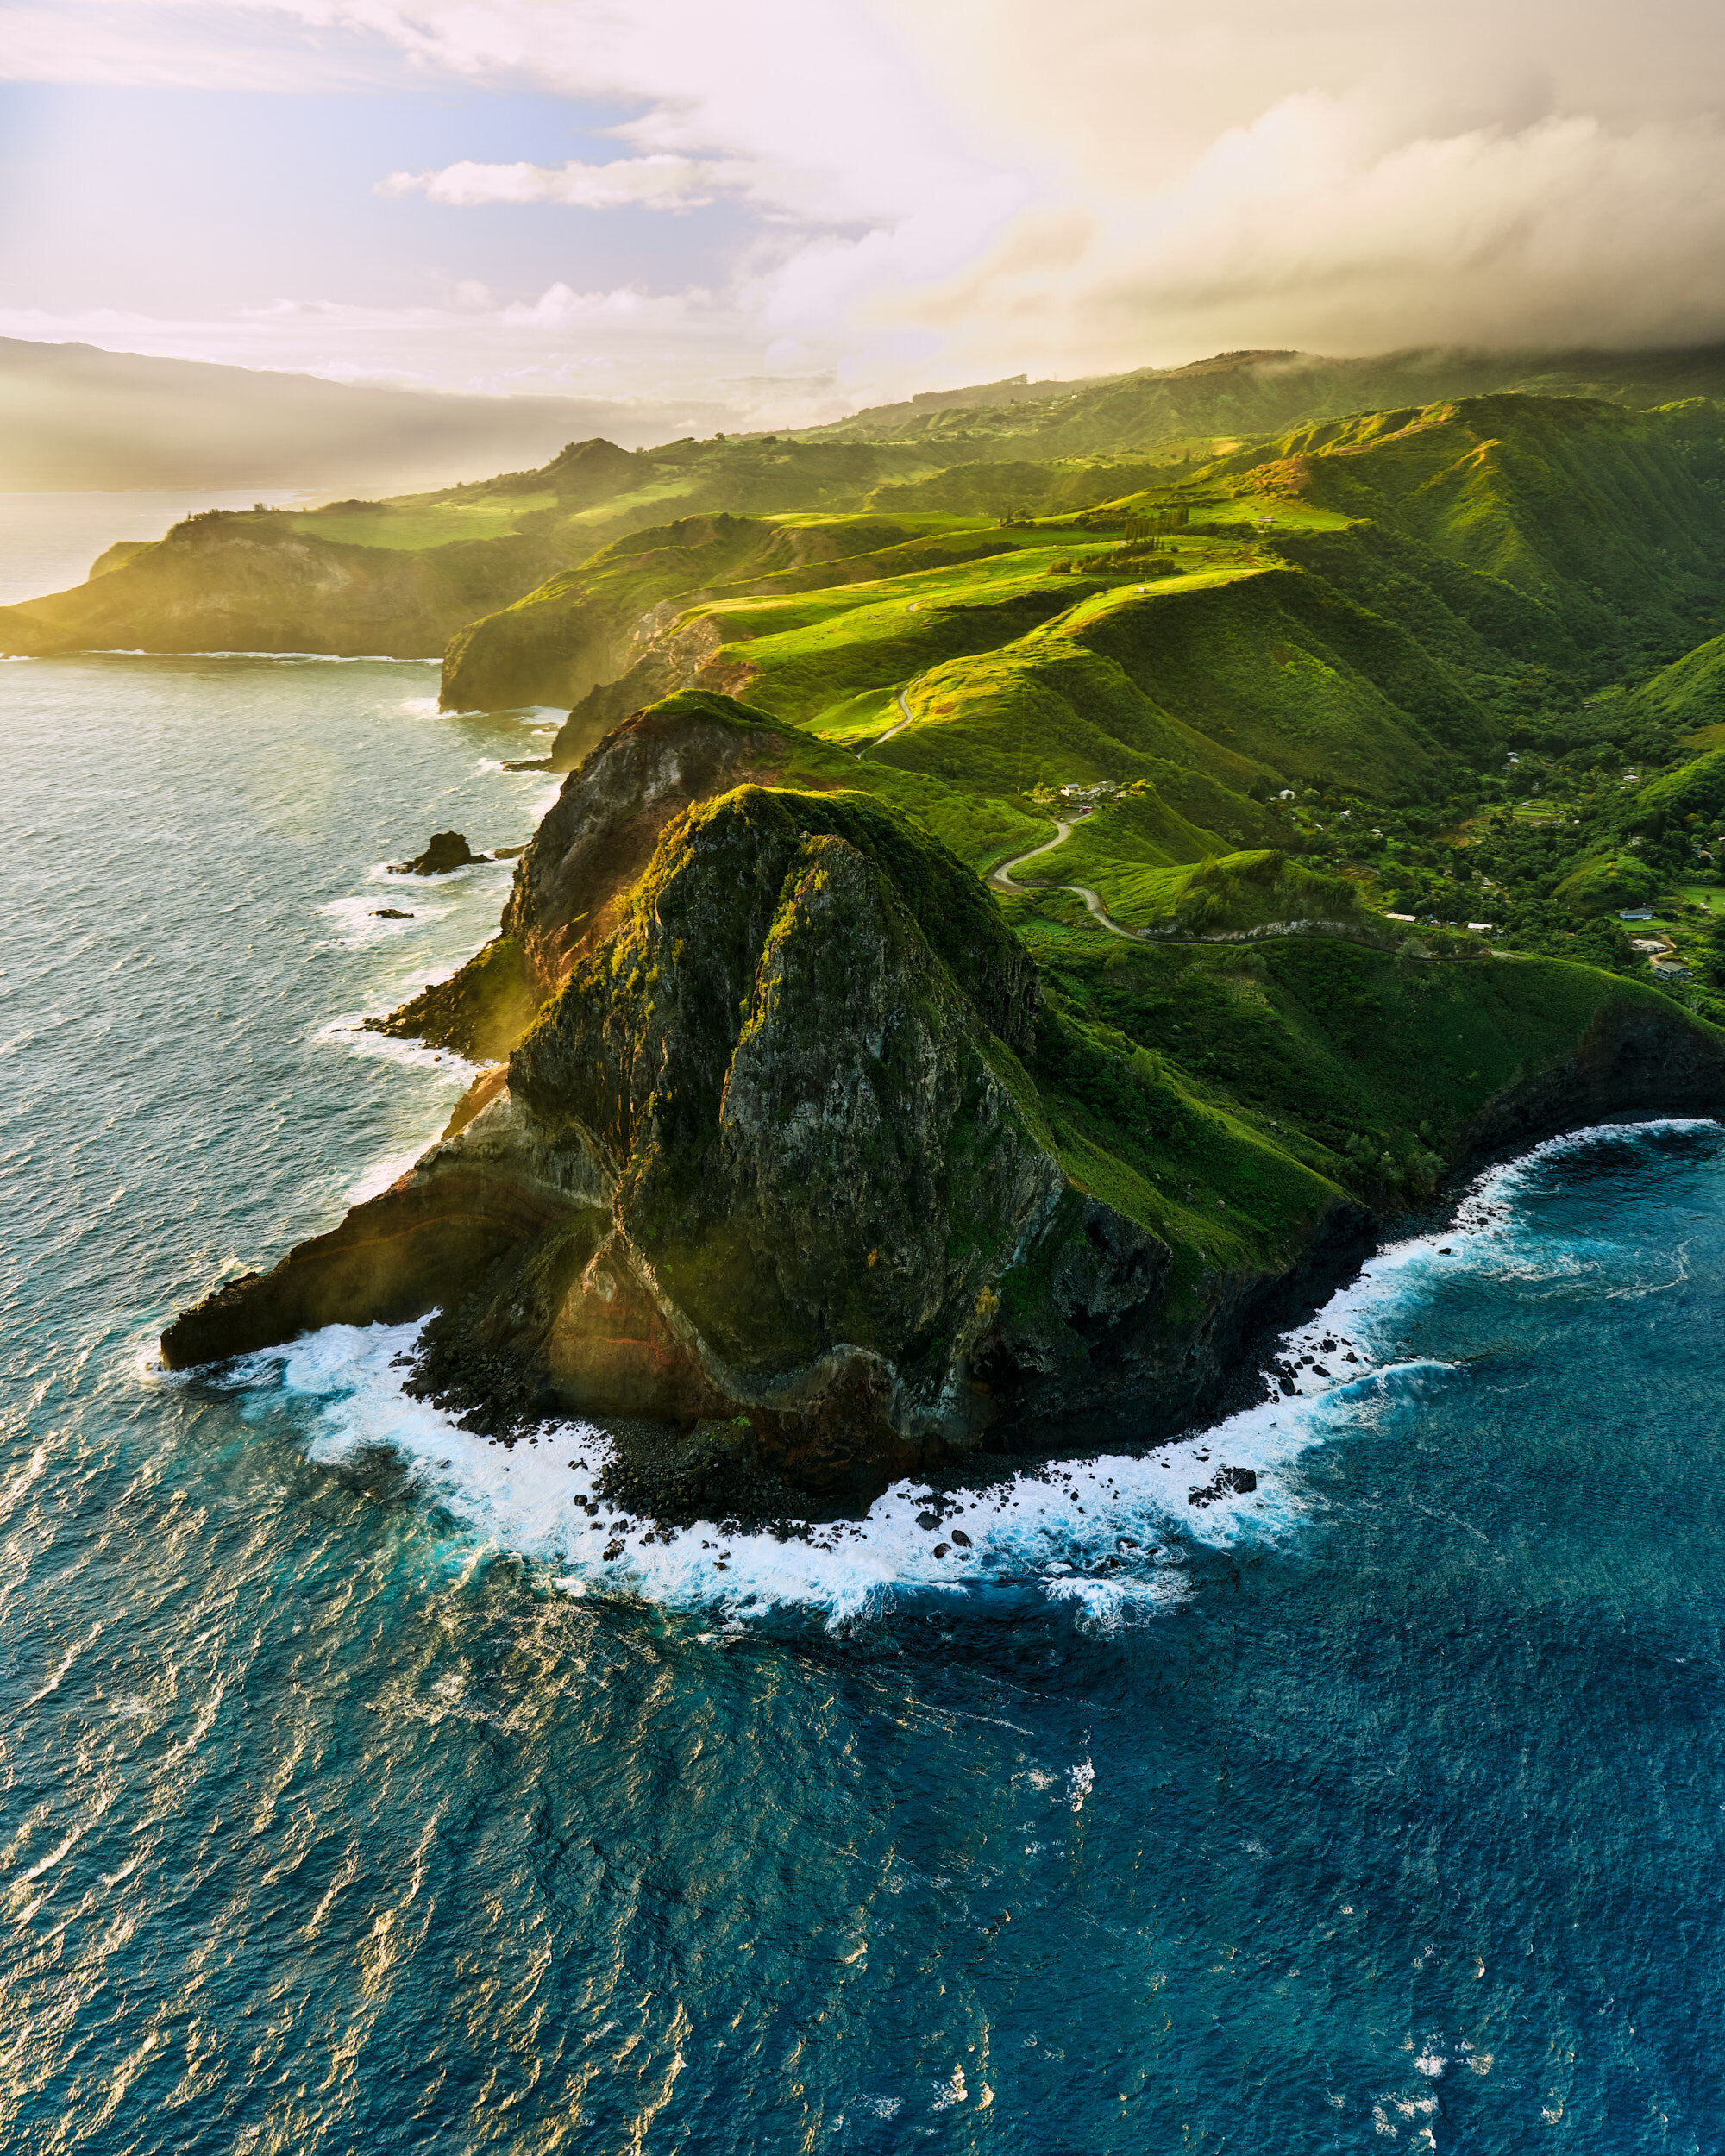

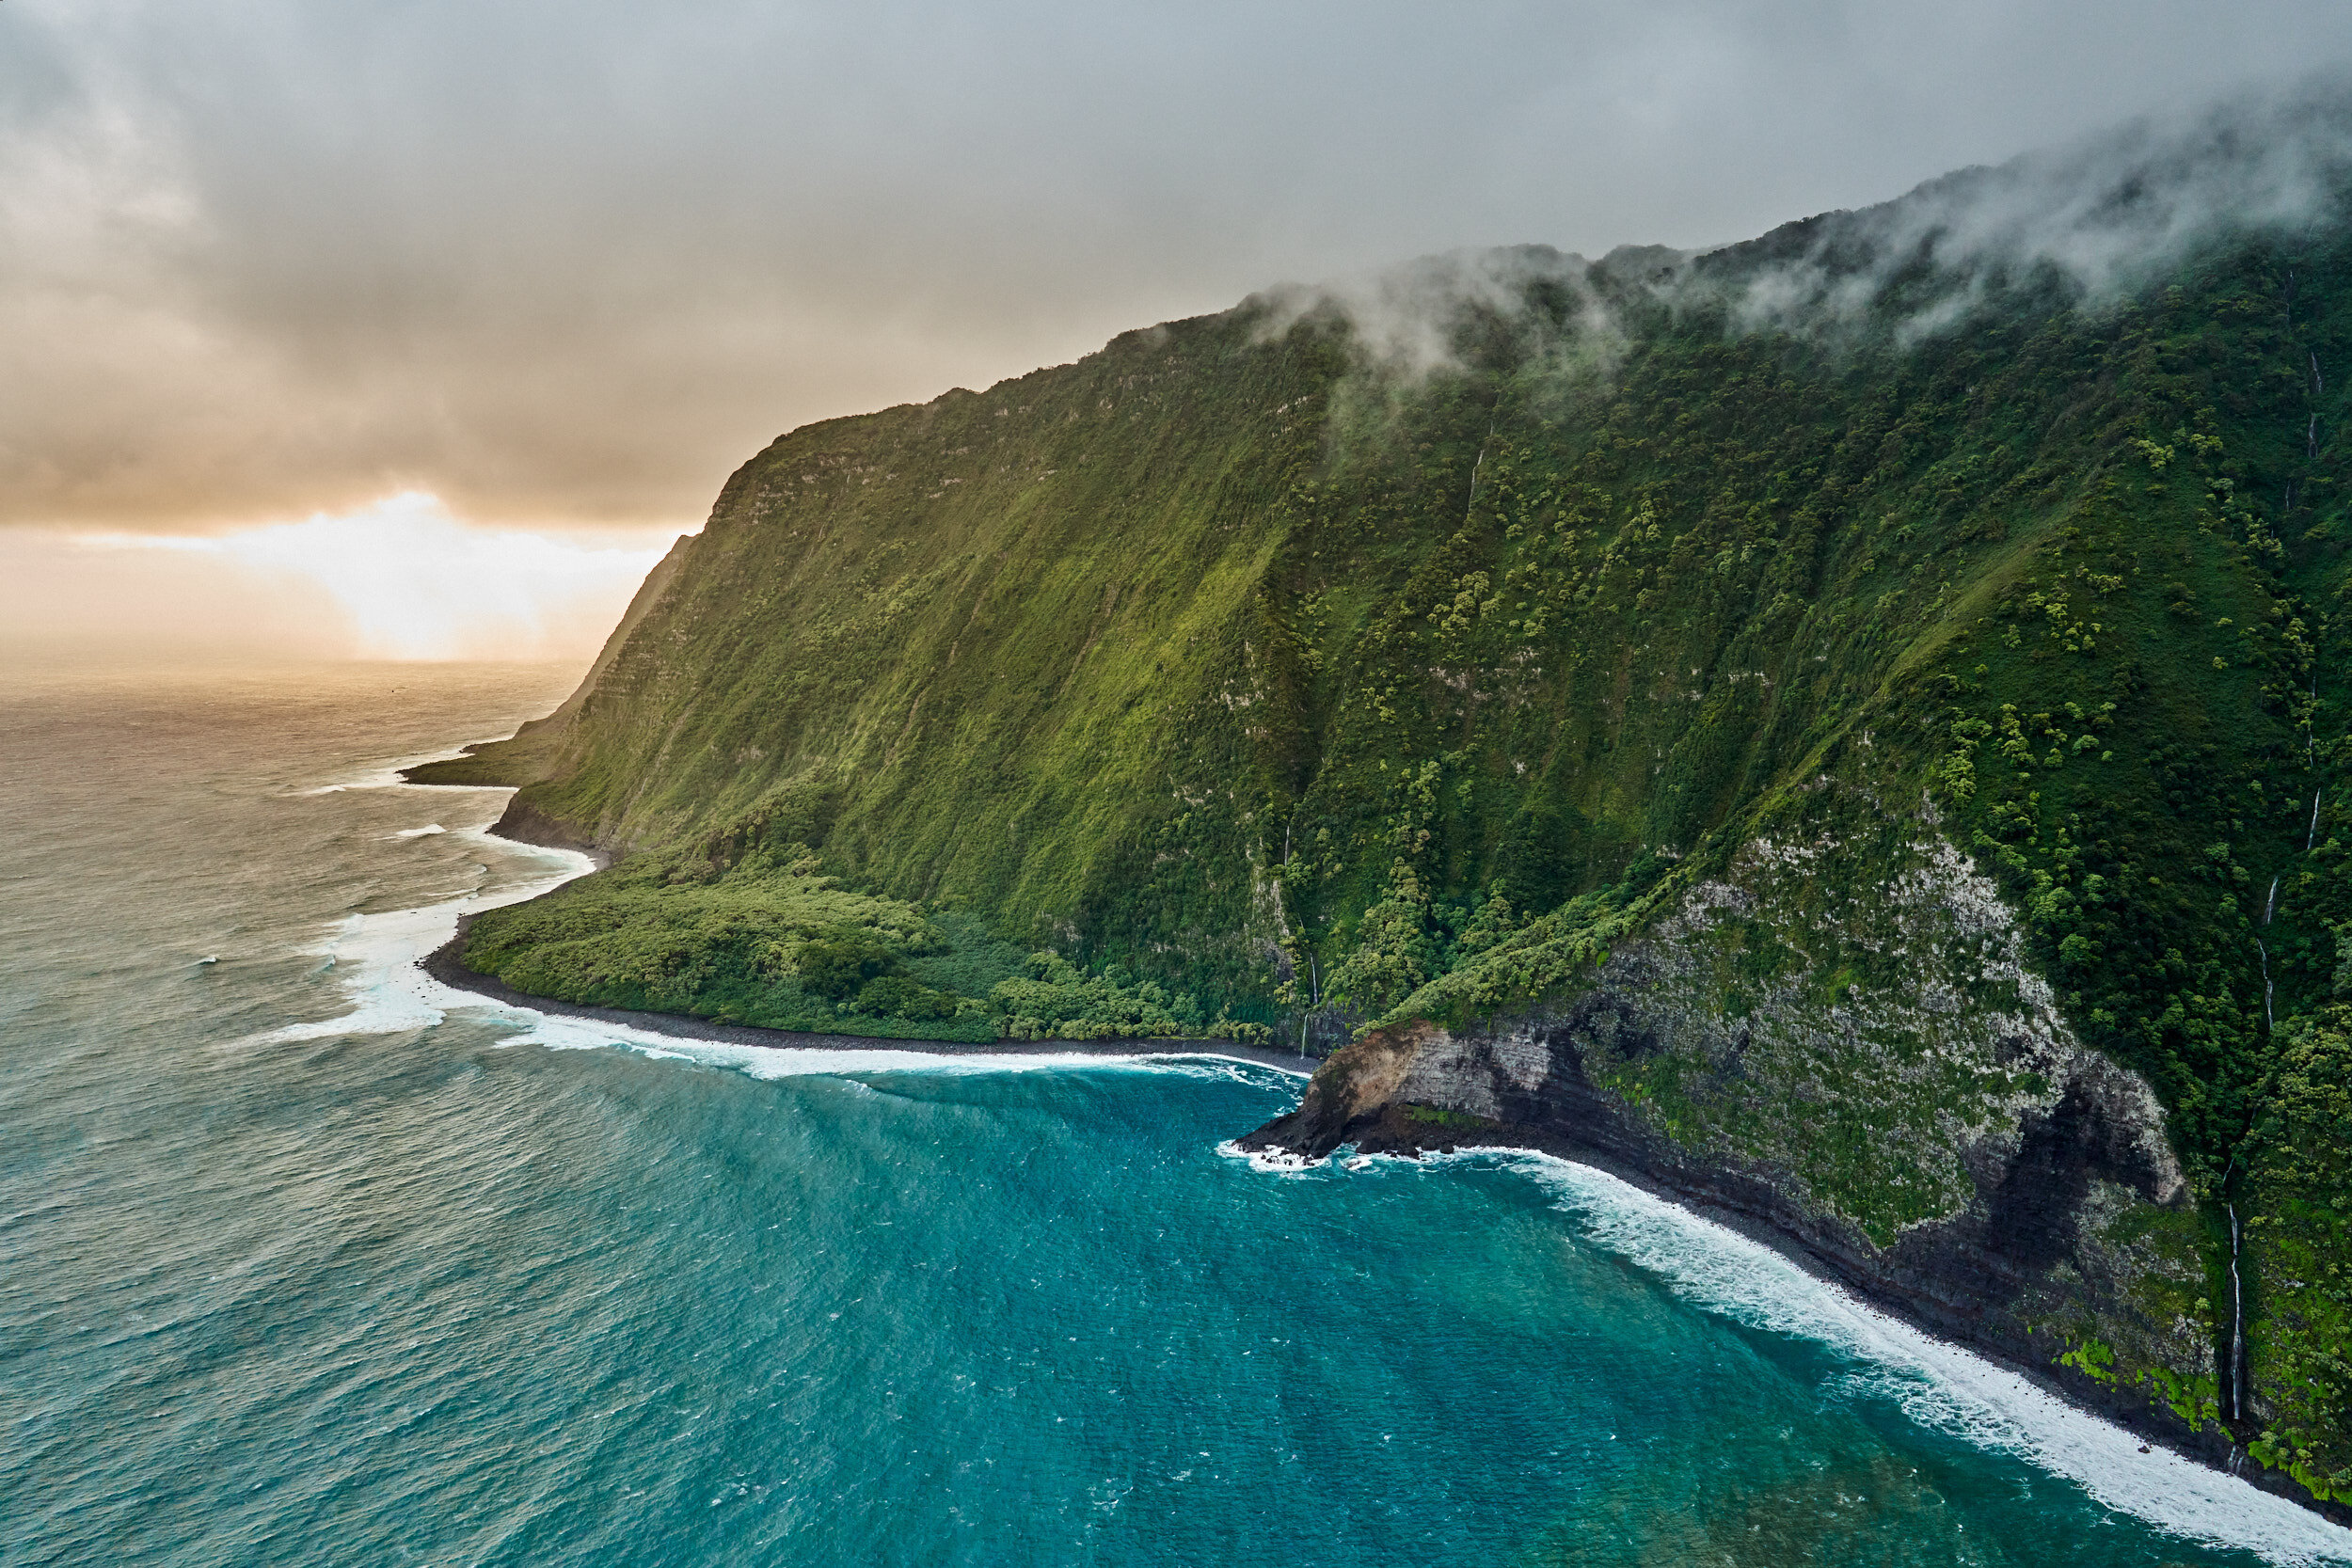
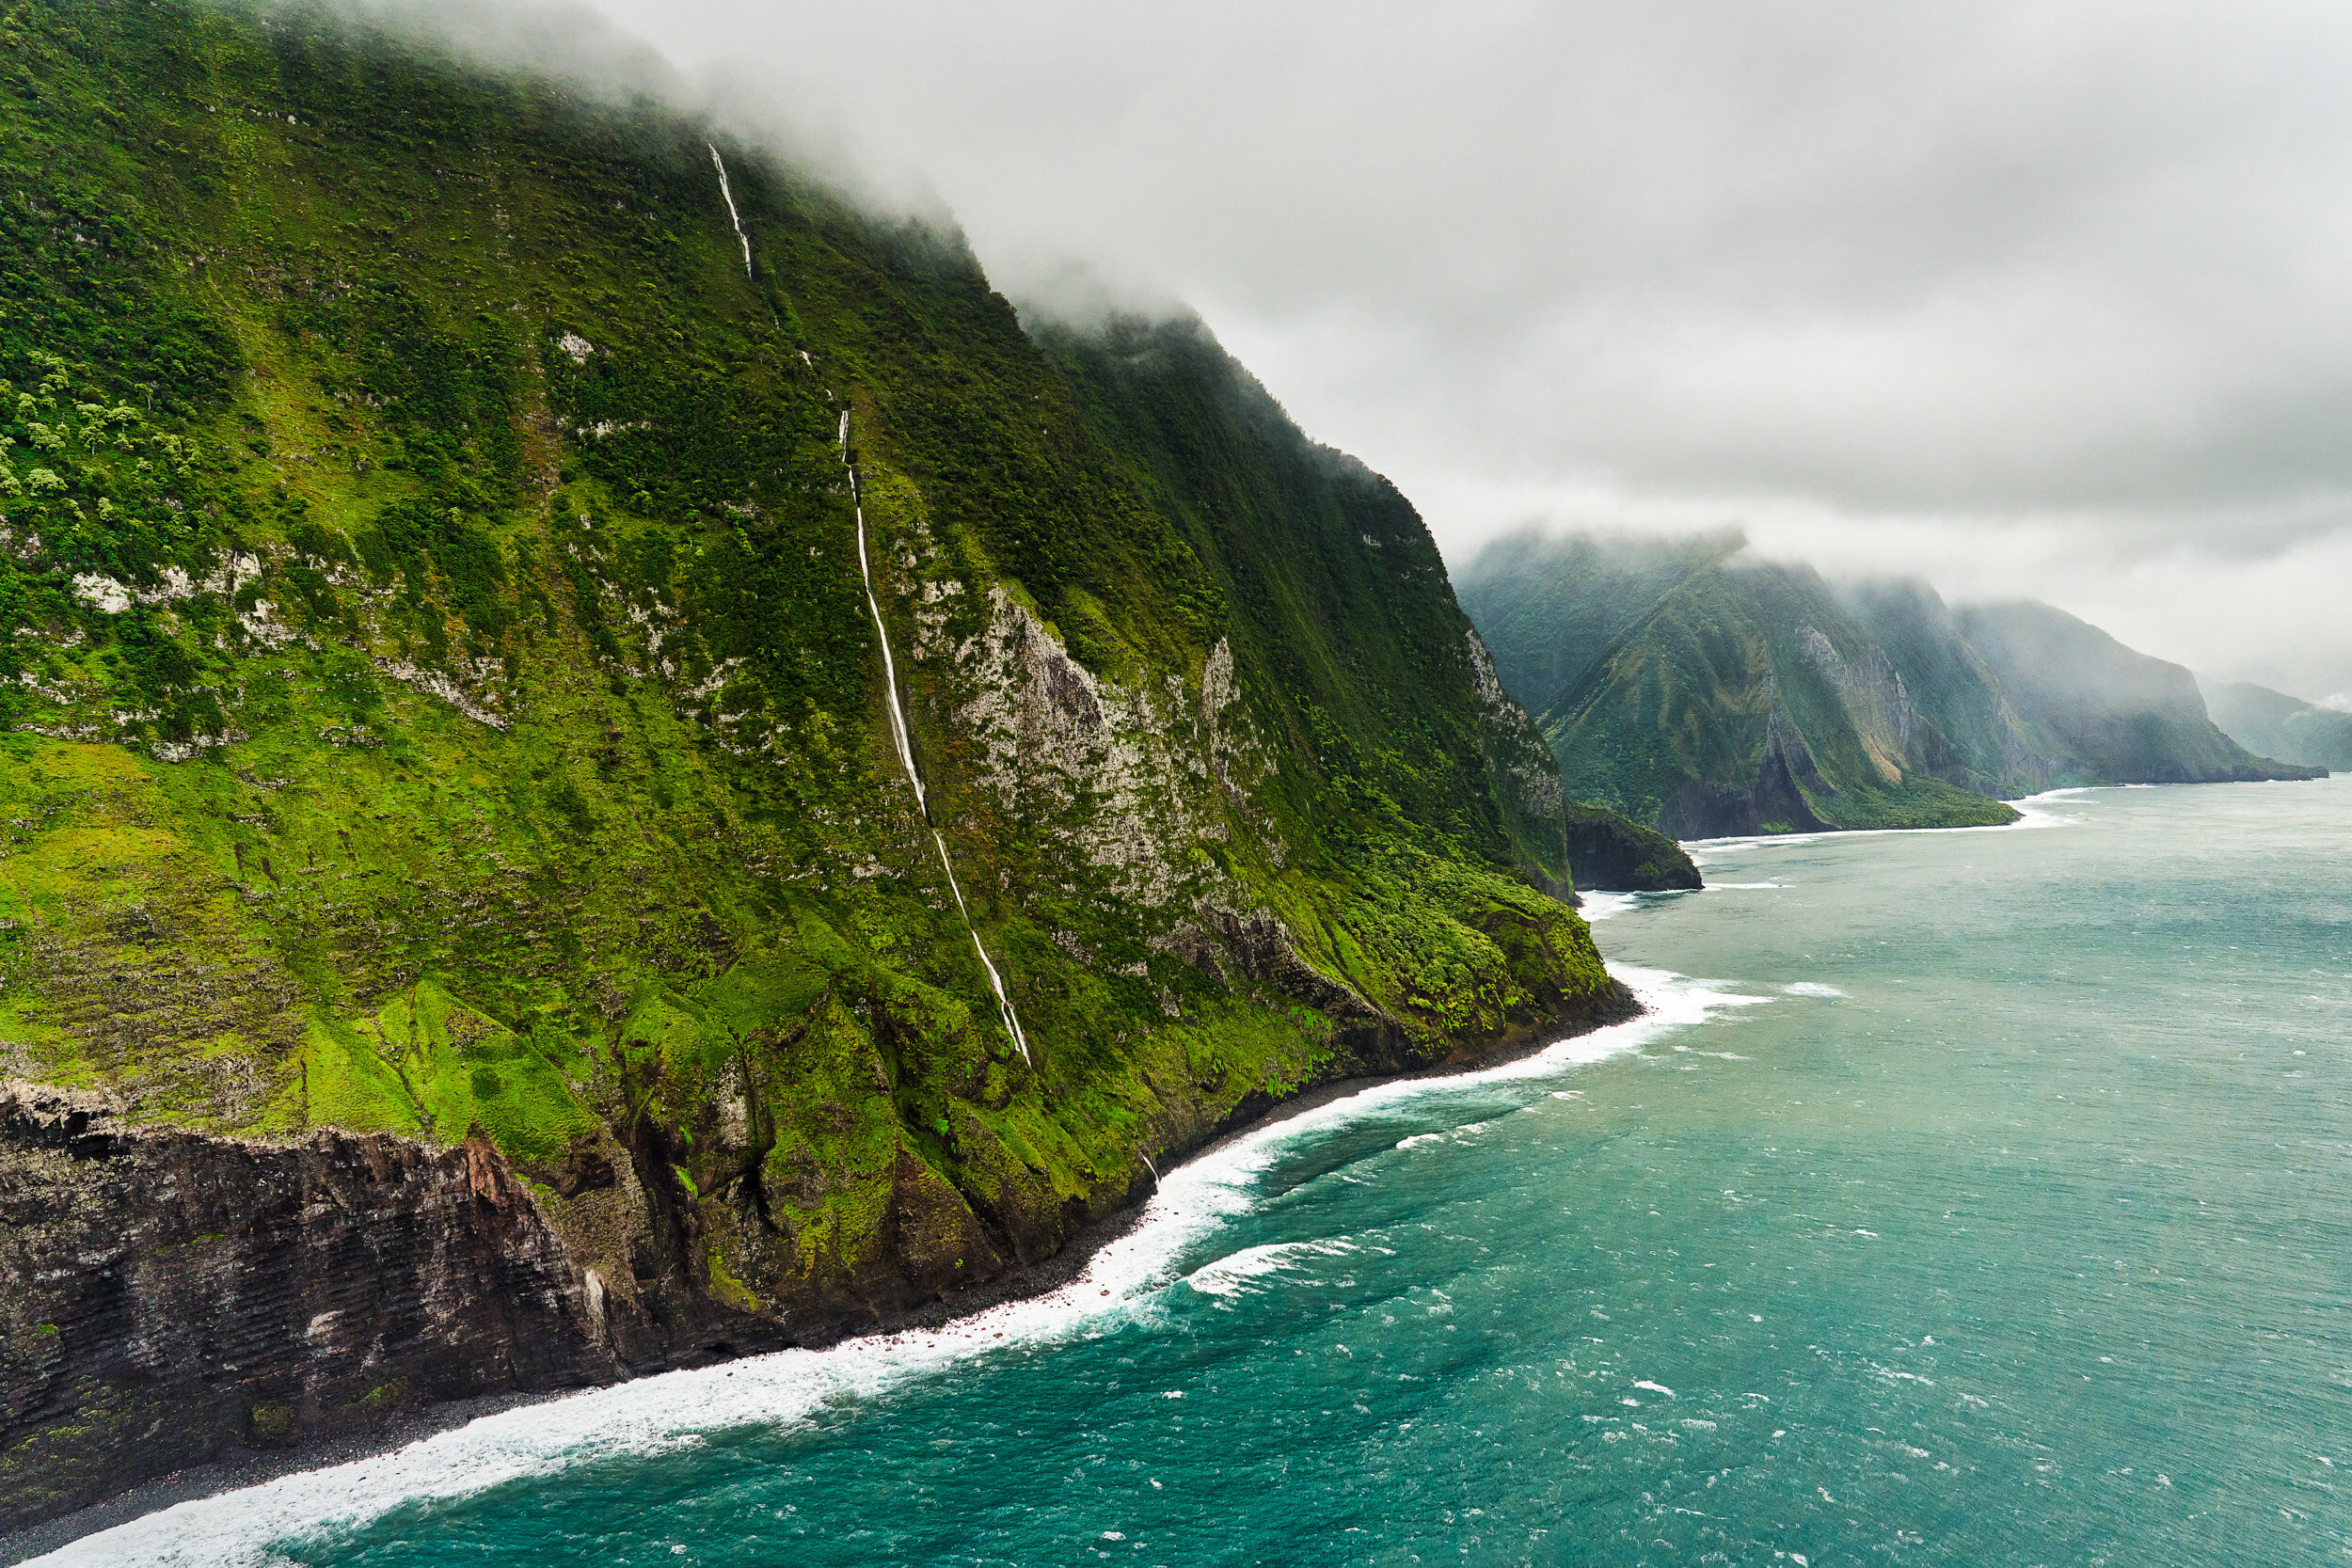
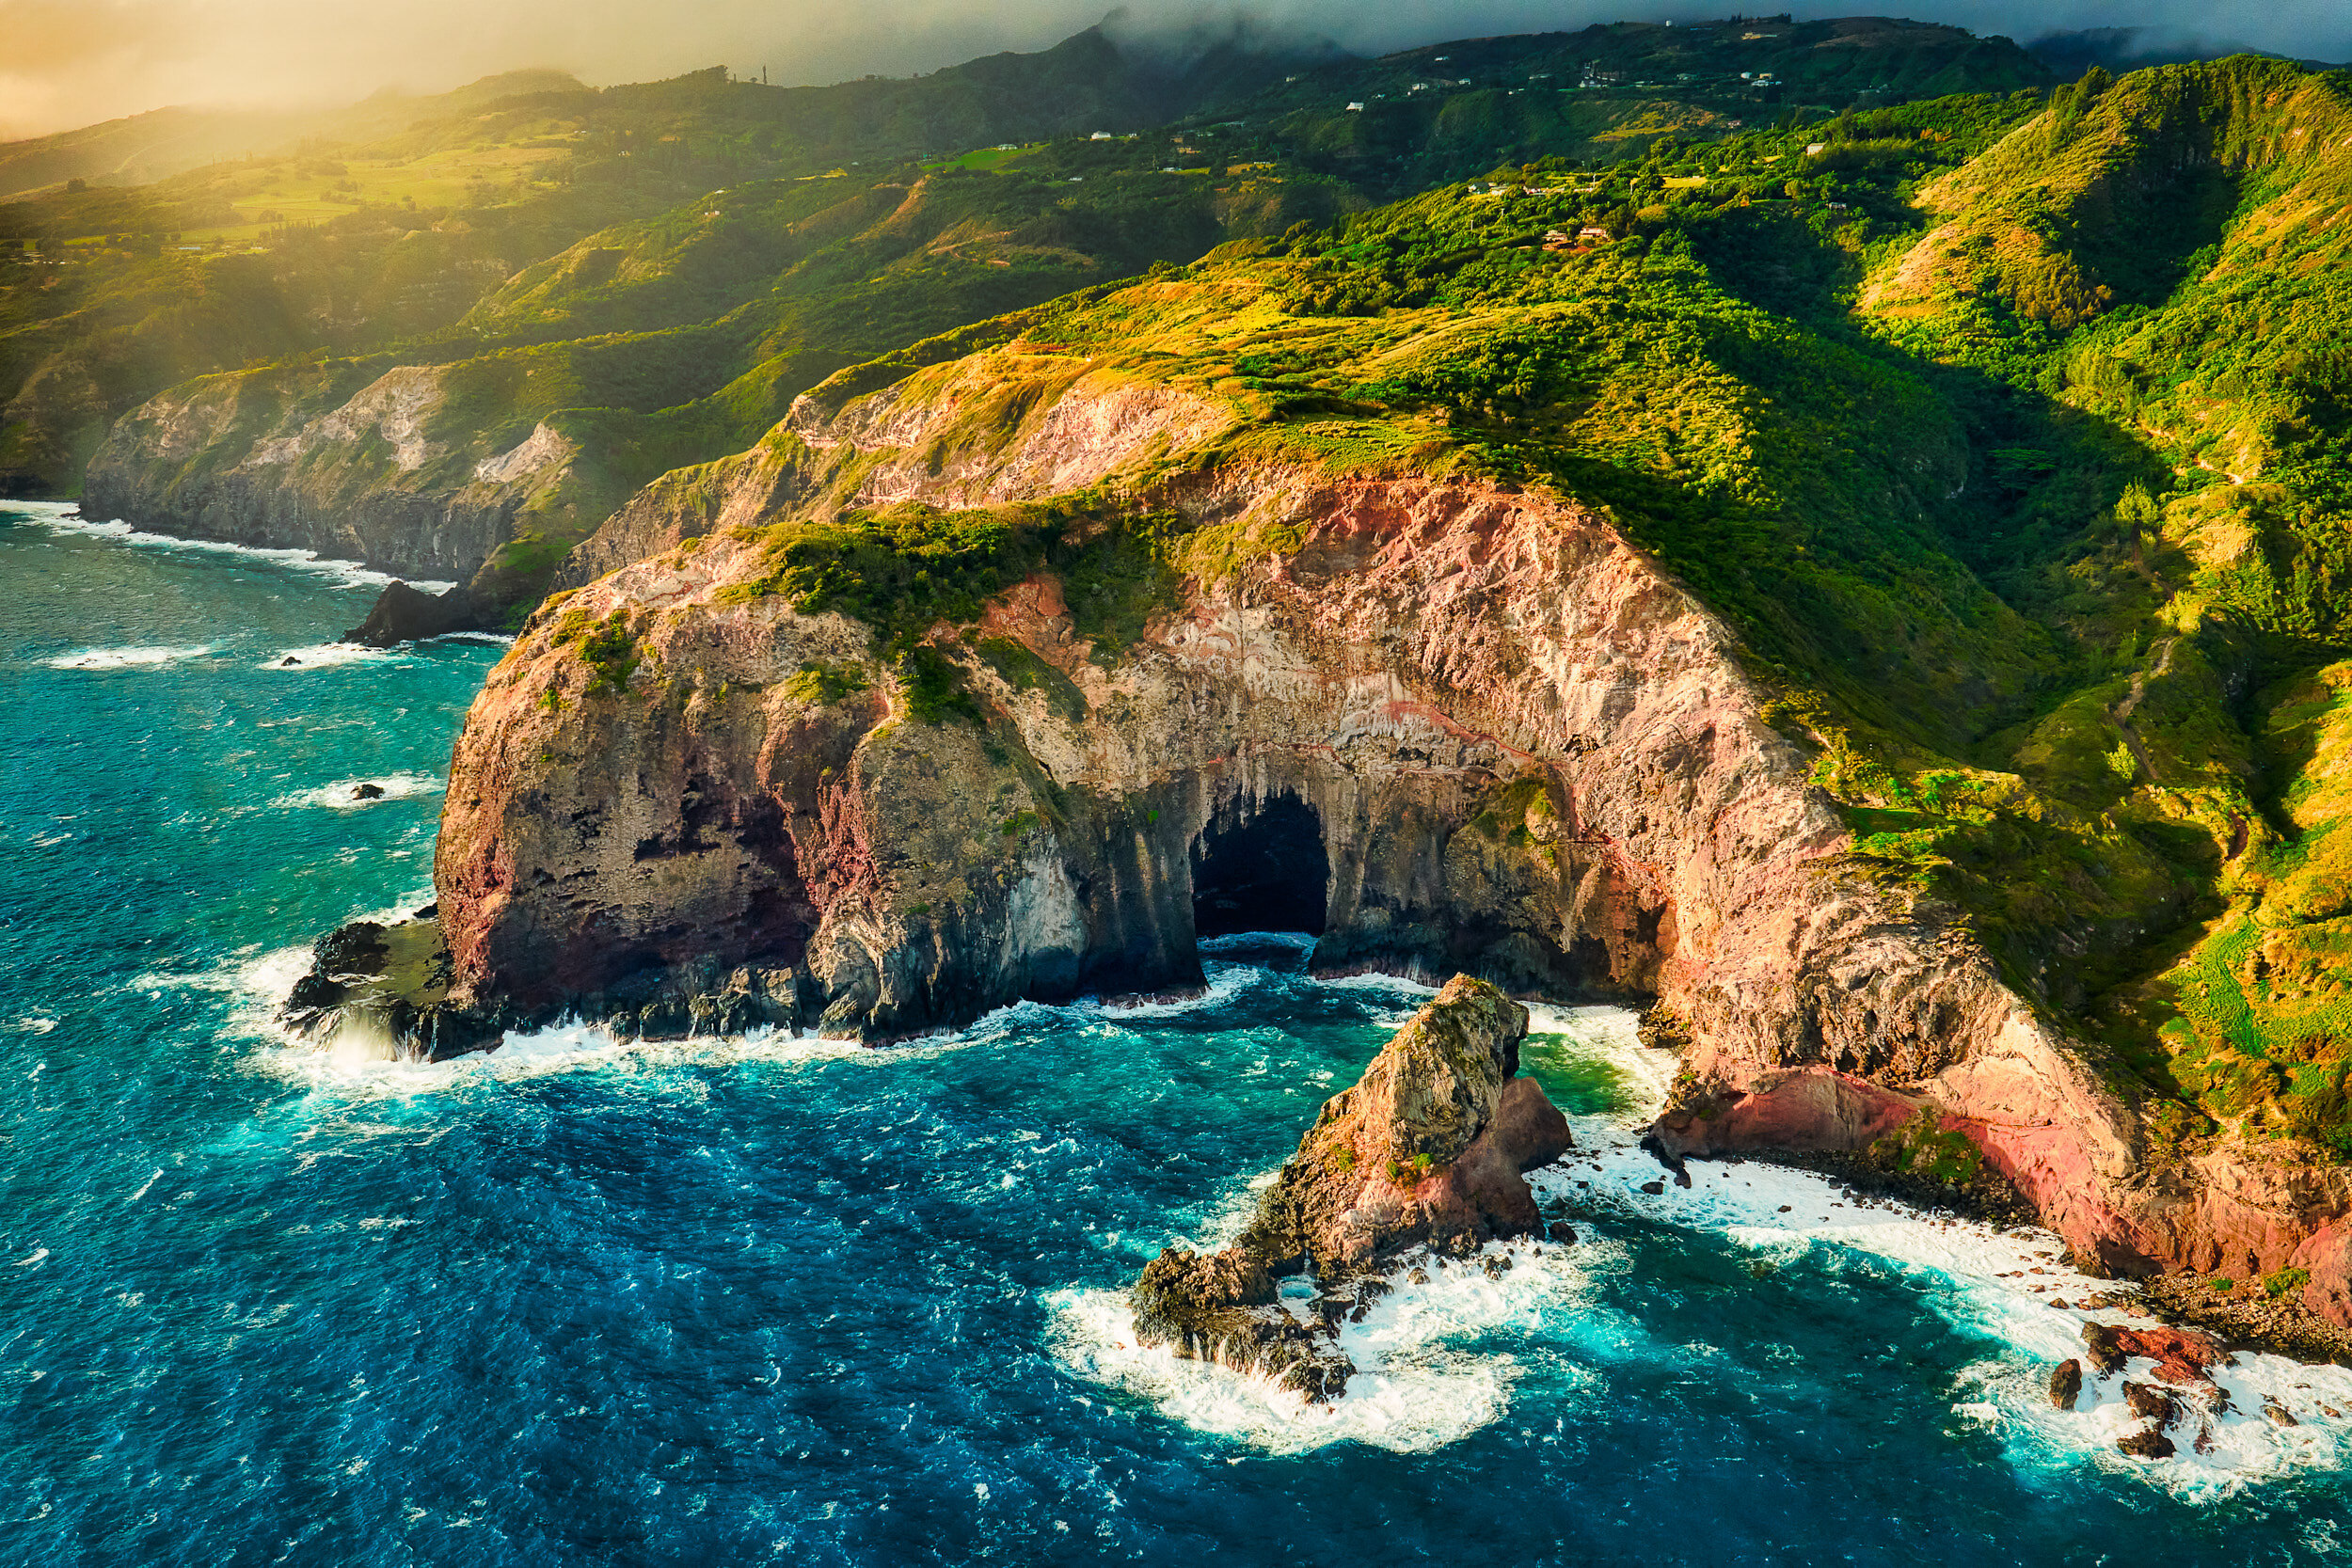
Table of Contents
On my recent trip to Maui, I tried Aerial Photography for the first time. I came away with some proud images; see the gallery below. I also have quite a few photos that taught me some valuable lessons.
Here are my top 5 aerial photography tips to maximize the number of quality shots from your next shoot from the skies.
1. Use a Fast Shutter Speed
While you might think this would be a no-brainer, you will need a faster shutter speed than you might think. I get a great shot at 1/125 of a second when I shoot street photography. When I was in the air, I needed to be at 1/500 or 1/1000 of a second or faster to get an image as sharp. I was fortunate as we started the day; I got a few photos at 1/80 that were great. I'll thank the IBS on the Sony a7R IV and a stroke of luck for those.
The aerial platform you are shooting from will also play a role in what settings you can use. If you are in a plane flying at 150 mph versus a slow-moving helicopter, you might get away with a bit slower like I did. Shutter speed will also help with the vibrations of the aircraft, which leads me to my next tip.
2 Shoot Wide Open
If you are on an aerial tour like those offered in Hawaii or other cities, depth of field will not play a role in your images. I was shooting with my Sony 35mm f/1.2 GM lens. Running the numbers on DOFMaster, you can see that even wide open lets us do the math. If I am 100 meters from an object, my depth of field near the limit starts at 30 meters, and my hyperfocal distance is 43.3 meters. I can't imagine that these are numbers that you will approach. So, armed with the depth of field knowledge, open that lens up and, let the light in, use it to turn up the shutter speed.
3. Don’t use the Aircraft to Steady the Camera
The video below is the uncut GoPro video from the flight. You will notice a few things about this video, shot with the GoPro Hero 7 Black. The first is that the video is very stable. I have been impressed with the HyperSmooth stabilization technology that GoPro uses. The second is that the airframe has a significant shake. If you lean against the frame of the aircraft, thinking it will steady the lens, the opposite happens; that shake translates into the camera. This shake will require an even faster shutter speed to overcome, if it is possible.
4. Let the camera handle the ISO
If you follow along, your shutter speed is set to 1/1000, and your lens is opened to f/2.8 or faster. With two of the three sides of the exposure triangle accounted for, ISO is the only other setting to address. This tip also may not work for all cameras, but my Sony a7R IV can set an upper ISO limit in AutoISO. So, I set my AutoISO to between 100 and 3200, and the camera will adjust the ISO between these ranges as necessary.
5. Communicate with the Pilot
As with most things in life, communication is key. Aerial photography is no different. When we flew with Pacific Helicopter Adventure Tours Maui, we worked with them to let them know what we wanted to see and shoot. We knew we wanted to shoot the Molokai cliffs, so they advised an 8:30 AM departure time was ideal as the sun would just be clearing the Maui mountains and give us the best light.
Of course, it is not just in the pre-planning. We constantly communicated with the pilot when shooting unless we were near the airfield. When I needed to go back for a shot or turn the aircraft just a little, we could do that. It is also likely that this is not your pilot's first time flying this route; he can give you a heads-up on things you might find interesting. It all starts with a conversation.
Conclusion
These five tips were just the big ones I learned. I am sure there are a ton more. If you have some aerial photography tips, I'd love to hear about them in the comments section below. If you are interested in more images from Hawaii or prints, the links are below.
A plane or helicopter is not the only way to take advantage of the unique perspective provided by Aerial Photography. Easy to fly drones allow you to stay both stay on the ground and get your camera in the air. You can learn more about getting started with drone photography in this Pixpa article.